Mechanical Assembly Precision: Engineering Stability with Snap Ring Pliers
Source:https://www.powerbuilt.com
You’ve just spent three hours meticulously rebuilding a high-end garbage disposal or a lawn tractor transmission. Everything is in place, but then you see it: a tiny, tensioned circular clip lying on your workbench. You try to pry it back onto the shaft using a flathead screwdriver and needle-nose pliers. Suddenly—ping!—the clip flies across the garage, disappearing into a dark corner, never to be seen again.
In my fifteen years of tackling complex home machinery and structural repairs, I’ve learned that the difference between a “fixed” machine and a “failed” one often comes down to a single millimeter of steel. When you’re dealing with high-torque mechanical assemblies, you aren’t just looking for a tool; you’re looking for a specialized partner. That partner is the Snap Ring Pliers. This isn’t just a niche tool for mechanics; it is the “secret handshake” of anyone serious about high-precision home improvement.
The Invisible Anchor: Why the Snap Ring Matters
In the world of home improvement, we often deal with “lateral forces.” Imagine a ceiling fan blade spinning at high speed or a heavy-duty sliding door roller. These parts want to slide off their axles. A snap ring (or circlip) acts as a structural shoulder that says, “You shall not pass.”
I remember a project involving a vintage industrial-style HVAC blower. The homeowner had tried to “MacGyver” the assembly using standard pliers, causing the ring to lose its tension. The result? A vibrating mess that sounded like a jet engine in the basement. When I brought out my dedicated Snap Ring Pliers, I wasn’t just fixing a clip; I was restoring the mechanical equilibrium of the entire system.
Think of a snap ring like a sturdy doorstop in a windy hallway. If that doorstop isn’t seated perfectly in its groove, the door is going to slam. To set that doorstop without hurting your fingers or the door, you need the right grip.
Engineering the Grip: Understanding Snap Ring Pliers Anatomy
To the uninitiated, these look like strange, pointy-nosed pliers. However, the engineering is highly specific to the type of fastener you are handling.
1. Internal vs. External Mechanisms
This is the most critical technical distinction you’ll face.
-
Internal Pliers: When you squeeze the handles, the tips close. These are for rings that sit inside a bore or a pipe.
-
External Pliers: When you squeeze the handles, the tips open. These are for rings that wrap around a shaft or an axle.
-
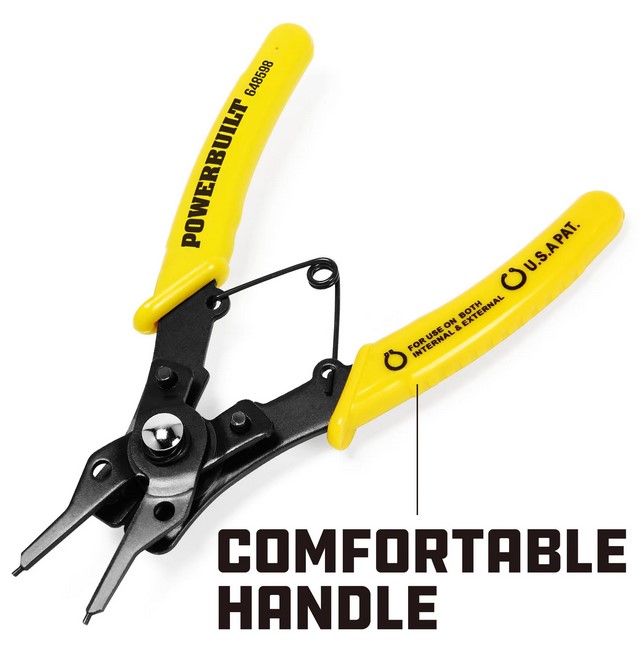
Pro Insight: If you’re serious about your home workshop, look for convertible snap ring pliers. They feature a quick-switch pivot that allows one tool to handle both internal and external jobs.
2. The Tip Geometry
Unlike standard pliers with flat or serrated jaws, Snap Ring Pliers have precision-ground cylindrical tips.
-
Tip Diameter: These range from 0.038″ to 0.090″. Using a tip that is too small for the ring’s eyelets will lead to the “flying clip” scenario mentioned earlier.
-
Angles: Sometimes you need to reach into a recessed housing. This is where 45-degree or 90-degree offset tips become lifesavers.
3. Essential LSI Keywords to Know:
-
Circlip: The technical European term for a snap ring.
-
Retaining Ring: The broad category of fasteners that include snap rings.
-
Eyelets: The tiny holes at the end of the ring where the pliers’ tips insert.
-
Groove Clearance: The specific space machined into a shaft where the ring “seats.”
Mastering the “Snap”: A Step-by-Step Precision Guide
Using Snap Ring Pliers is an exercise in controlled tension. It is a dance between mechanical force and delicate placement.
Step 1: Matching the Load
Before you even touch the tool, ensure your tips match the eyelets of the ring. There should be zero wiggle room. If the fit is loose, the ring will twist under tension and potentially deform, losing its “spring memory.”
Step 2: Parallel Extraction
When you engage the Snap Ring Pliers, pull or push the handles slowly. You want to expand (or contract) the ring just enough to clear the shaft or bore.
-
The Golden Rule: Never over-expand. A snap ring is like a rubber band made of steel; if you stretch it too far, it won’t “snap” back into its groove with the necessary force.
Step 3: Seating the Ring
Once the ring is in position, release the tension. You should hear a distinct “click.” This is the sound of mechanical stability. I always use a small brass punch to lightly tap the ring; if it rotates freely in its groove but doesn’t pop out, you’ve achieved assembly precision.
Expert Advice: The “Hidden Warning” of Fatigue
Pro Tip: The One-Time Use Myth
Many homeowners think they can reuse the same snap ring indefinitely.
Peringatan Tersembunyi (Hidden Warning): Every time you use Snap Ring Pliers to stretch a ring, you are inducing “stress cycles” in the metal. If a ring looks warped or doesn’t feel “snappy,” throw it away and buy a new one. A $0.50 cent ring failing can lead to a $500 repair if a bearing slides out of place while a machine is running.
The ROI of Professional Tools
In high-end residential maintenance, we value “uptime.” We don’t want to fix the same garage door opener twice. By using Snap Ring Pliers, you ensure that the mechanical components of your home stay exactly where the engineers intended.
Think of it like surgical precision in your garage. You wouldn’t want a surgeon using kitchen scissors, and you shouldn’t want your high-torque household motors held together by “close enough” tools. Investing in a quality set of pliers protects your hardware and, more importantly, your safety.
Maintenance: Keeping Your Pliers in “Prime” Condition
-
Tip Protection: The tips of Snap Ring Pliers are the most vulnerable part. Store them in a dedicated case or with a protective sleeve. A bent tip is a useless tip.
-
Lubrication: Occasionally apply a drop of machine oil to the pivot point. A smooth, fluid motion in the handle translates to better “feel” when you’re manipulating a high-tension ring.
-
Rust Prevention: Since these are often used in automotive or basement environments, wipe the steel down with an oily rag to prevent surface corrosion.
Conclusion: Engineering Your Home’s Stability
Mechanical precision isn’t just for factory floors; it’s for the dedicated homeowner who wants things done right the first time. Mastering the use of Snap Ring Pliers elevates you from a “handyman” to a “mechanical technician.” It gives you the confidence to open up motors, pumps, and appliances that others would simply replace.
When you hear that perfect snap as the retaining ring finds its groove, you’ll know that your assembly is engineered for stability. You’ve successfully managed the invisible forces that keep your home running.
Are you currently staring at a stubborn piece of machinery with a clip you can’t seem to budge? I’ve navigated some of the most cramped motor housings in the business. If you describe the location of the ring, I can help you figure out if you need an internal or external setup—and exactly which tip angle will get the job done. Would you like me to create a “Universal Retaining Ring Size Chart” for your workshop?